 Dust is an inevitable part of life, and it can accumulate quickly in our homes, making rooms
look dull and contributing
to allergies and other health issues. Efficient dust removal not only
improves the appearance of your home but also enhances indoor air quality and creates a
healthier living environment. In this article, we`ll explore the best strategies to remove dust
efficiently, helping you maintain a cleaner, fresher home.
Dust is an inevitable part of life, and it can accumulate quickly in our homes, making rooms
look dull and contributing
to allergies and other health issues. Efficient dust removal not only
improves the appearance of your home but also enhances indoor air quality and creates a
healthier living environment. In this article, we`ll explore the best strategies to remove dust
efficiently, helping you maintain a cleaner, fresher home.
Use the Right Tools for Dusting
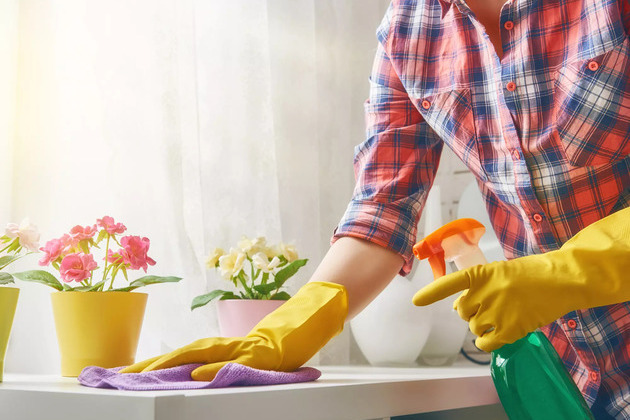
Efficient dust removal starts with using the right tools. While it may be tempting to use just any cloth or duster, certain tools are specifically designed to trap dust rather than just move it around.
- Microfiber Cloths: These are the gold standard for dusting. Microfiber cloths are designed to trap dust particles without spreading them into the air. They`re also reusable and easy to clean.
- Electrostatic Dusters: These dusters generate a static charge that attracts dust particles, making them highly effective for dusting delicate or hard-to-reach areas.
- Vacuum Cleaners with HEPA Filters: A vacuum cleaner with a HEPA filter can capture dust and allergens from floors, upholstery, and curtains without releasing them back into the air.

Dusting Techniques for Different Surfaces
Different surfaces in your home require different dusting techniques to be effective. Here`s how to handle dust on various surfaces:
- Hard Surfaces (Tables, Shelves, etc.): Start by dusting from the top and work your way down. This way, you catch dust that falls from higher surfaces. Use a slightly damp microfiber cloth to trap dust effectively.
- Electronics (TVs, Computers, etc.): Use a microfiber cloth to gently wipe down screens and keyboards. Avoid using cleaning solutions directly on electronics; instead, spray a small amount on the cloth if necessary.
- Soft Surfaces (Upholstery, Curtains, etc.): Vacuum upholstered furniture and curtains using a brush attachment. This will remove dust that has settled deep into the fabric. For curtains, a lint roller can also help remove dust and hair.
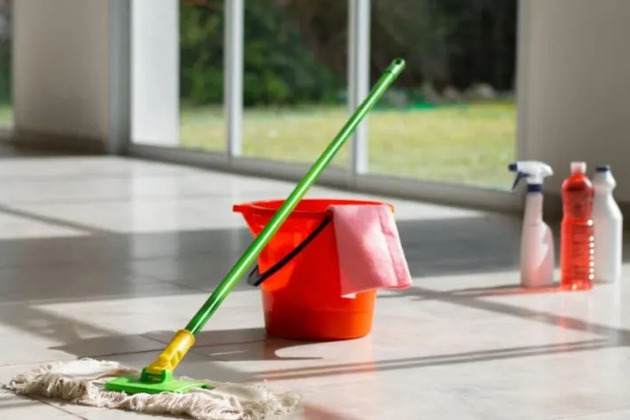
- Floors (Hardwood, Tile, Carpet): Use a vacuum cleaner with the appropriate attachment for each floor type. For hardwood or tile, a vacuum with a hard floor setting or a dust mop can effectively capture dust. For carpets, a vacuum with strong suction and a HEPA filter will do the trick.
Dusting Hard-to-Reach Areas
Dust tends to accumulate in hard-to-reach areas like ceiling fans, light fixtures, and behind furniture. These spots are often overlooked but are important to address for a truly dust-free home.
- Ceiling Fans and Light Fixtures: Use an extendable duster or a vacuum with an attachment to reach ceiling fans and light fixtures. Regularly dust these areas to prevent dust from spreading throughout the room.
- Behind and Under Furniture: Move furniture periodically to vacuum behind and underneath it. Use a vacuum cleaner with a crevice tool to reach tight spaces.
- Baseboards and Moldings: Dust tends to collect on baseboards and moldings. Use a damp cloth or a duster designed for tight spaces to clean these areas effectively.

Preventing Dust Buildup
Once you`ve removed the dust, it`s important to take steps to prevent it from building up again quickly.
- Air Purifiers: Using an air purifier with a HEPA filter can help trap dust particles before they settle on surfaces, significantly reducing the amount of dust in your home.
- Regular HVAC Maintenance: Change your HVAC filters regularly to prevent dust from circulating through your home. Consider using high-quality filters that are designed to capture fine dust particles.
- Minimise Clutter: Dust can settle on cluttered surfaces more easily. Keep surfaces clear and organised to reduce the areas where dust can accumulate.
- Wash Bedding Frequently: Dust mites thrive in bedding, so washing sheets, pillowcases, and blankets regularly can reduce the amount of dust in your home.

Dealing with Allergens in Dust
Dust often contains allergens like pet dander, pollen, and dust mites, which can cause discomfort, especially for those with allergies. Here`s how to deal with these allergens:
- Use Allergen-Proof Covers: Encase mattresses, pillows, and box springs in allergen-proof covers to reduce exposure to dust mites.
- Wash Stuffed Animals and Fabrics: Regularly wash stuffed animals, rugs, and other fabric items that can trap allergens. Use hot water to kill dust mites.
- Opt for Hard Flooring: If you have severe allergies, consider replacing carpets with hard flooring, which doesn`t trap dust as easily and is easier to clean.
Conclusion
Efficient dust removal is key to maintaining a clean, healthy, and comfortable home. By using the right tools, employing effective dusting techniques, and taking steps to prevent dust buildup, you can significantly reduce the amount of dust in your home. And if you want to ensure a truly dust-free environment without the hassle, consider partnering with CleanLine Cleaning Agency. Their professional dusting and cleaning services will keep your home pristine, so you can enjoy a cleaner, healthier living space without lifting a finger.