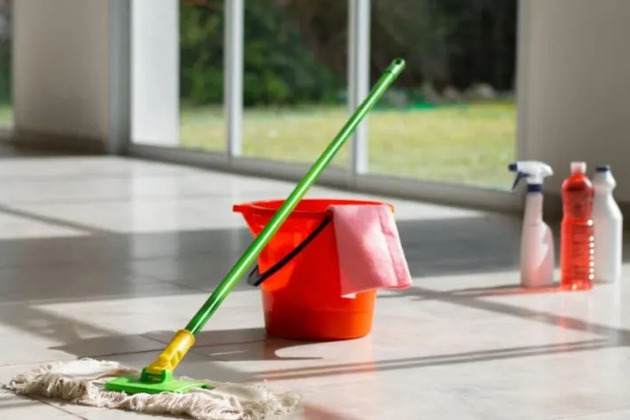
 Kitchen appliances like ovens, microwaves, and refrigerators see heavy daily use
and can quickly accumulate grime, grease, and bacteria.
Regularly cleaning these
appliances not only extends their lifespan but also keeps your kitchen hygienic and
appealing. This comprehensive guide will show you exactly how to deep-clean your
kitchen appliances step by step, with useful pro tips for sparkling results.
Kitchen appliances like ovens, microwaves, and refrigerators see heavy daily use
and can quickly accumulate grime, grease, and bacteria.
Regularly cleaning these
appliances not only extends their lifespan but also keeps your kitchen hygienic and
appealing. This comprehensive guide will show you exactly how to deep-clean your
kitchen appliances step by step, with useful pro tips for sparkling results.
Cleaning Your Oven (Removing Baked-On Grease)
What You’ll Need:
- Baking soda
- White vinegar
- Warm water
- Spray bottle
- Scrub brush or sponge
- Microfiber cloth
- Rubber gloves
Step-by-Step Guide:
-
Step 1: Empty the Oven
Remove all oven racks, trays, and accessories. - Step 2: Prepare a Cleaning Paste
Mix approximately 1/2 cup of baking soda with 3 tablespoons of water to create a thick paste. - Step 3: Apply the Paste
Using gloves, spread the baking soda paste evenly on the oven interior surfaces, avoiding the heating elements. Focus heavily on areas with baked-on grease. Allow it to sit overnight or at least 6-8 hours. - Step 4: Cleaning Oven Racks
While waiting, soak oven racks in hot, soapy water or a solution of warm water and white vinegar. Scrub gently with a brush and rinse thoroughly. - Step 5: Wipe and Remove Paste
After soaking overnight, use a damp cloth or sponge to remove the baking soda paste. For stubborn spots, spray white vinegar to create a foaming action, which helps loosen hardened grime. - Step 6: Final Rinse
Wipe down with a clean, damp microfiber cloth, then dry completely with a clean towel.
Pro Tip: To reduce odors, sprinkle lemon juice on a cloth and wipe oven surfaces for a fresh scent.

Deep Cleaning Your Microwave (Removing Spills and Odors)
What You’ll Need:
- Microwave-safe bowl
- Water
- Lemon slices or white vinegar
- Soft cloth or sponge
- Mild dish soap
Step-by-Step Guide:
-
Step 1: Create a Steam Solution
Fill a microwave-safe bowl with one cup of water. Add lemon slices or 2 tablespoons of white vinegar. - Step 2: Steam the Microwave
Microwave the solution on high for 3–5 minutes, allowing steam to build inside. Leave the door closed for an additional 5 minutes after the microwave stops. - Step 3: Wipe Interior Surfaces
Remove the bowl carefully. Use a damp sponge or cloth to wipe down the interior surfaces. Spills and grime should come off easily. - Step 4: Clean the Turntable
Remove the turntable and wash it in warm, soapy water. Rinse, dry, and return it to the microwave. - Step 5: Exterior Cleaning
Wipe the exterior of the microwave, including control buttons, using a soft cloth dampened with mild soap and water.
Pro Tip: For stubborn stains, dip your cloth in baking soda to gently scrub without scratching surfaces.

Sanitizing and Deodorizing Your Refrigerator
What You’ll Need:
- Mild detergent or dish soap
- Baking soda
- White vinegar
- Soft microfiber cloths
- Warm water
- Empty spray bottle
Step-by-Step Guide:
- Step 1: Empty the Refrigerator
Remove all items from the fridge, discarding expired or spoiled foods. - Step 2: Remove Shelves and Drawers
Take out removable shelves and drawers. Wash them in warm, soapy water, rinse thoroughly, and allow to dry completely. - Step 3: Clean Interior Surfaces
Fill a spray bottle with equal parts white vinegar and warm water. Spray interior walls, then wipe thoroughly using a microfiber cloth. - Step 4: Deodorize with Baking Soda
Place an open box or bowl of baking soda inside the refrigerator. Baking soda naturally absorbs odors, leaving your fridge smelling fresh. - Step 5: Clean the Door Seals
Gently scrub refrigerator door seals using warm, soapy water to remove hidden mold or grime. Dry thoroughly. - Step 6: Wipe Exterior Surfaces
Clean handles, doors, and outer surfaces with mild soap and water. Buff dry with a clean microfiber cloth.
Pro Tip: For lasting freshness, regularly replace baking soda every 2–3 months.

Additional Pro Tips for Flawless Appliance Cleaning:
- Routine Maintenance: Regular quick cleanups after cooking prevent tough stains from building up.
- Natural Cleaning: Using baking soda and vinegar is both eco-friendly and safe for most kitchen surfaces.
- Cleaning Schedule: Set reminders to perform deep cleaning at least once every three months.
Need Professional Help?
If deep-cleaning kitchen appliances feels overwhelming, professional services can be an excellent solution. At CleanLine Cleaning Agency, our trained specialists provide comprehensive cleaning of your kitchen appliances, leaving them spotless, sanitized, and smelling fresh.
Enjoy a pristine kitchen without lifting a finger - contact us today for a professional cleaning appointment!